
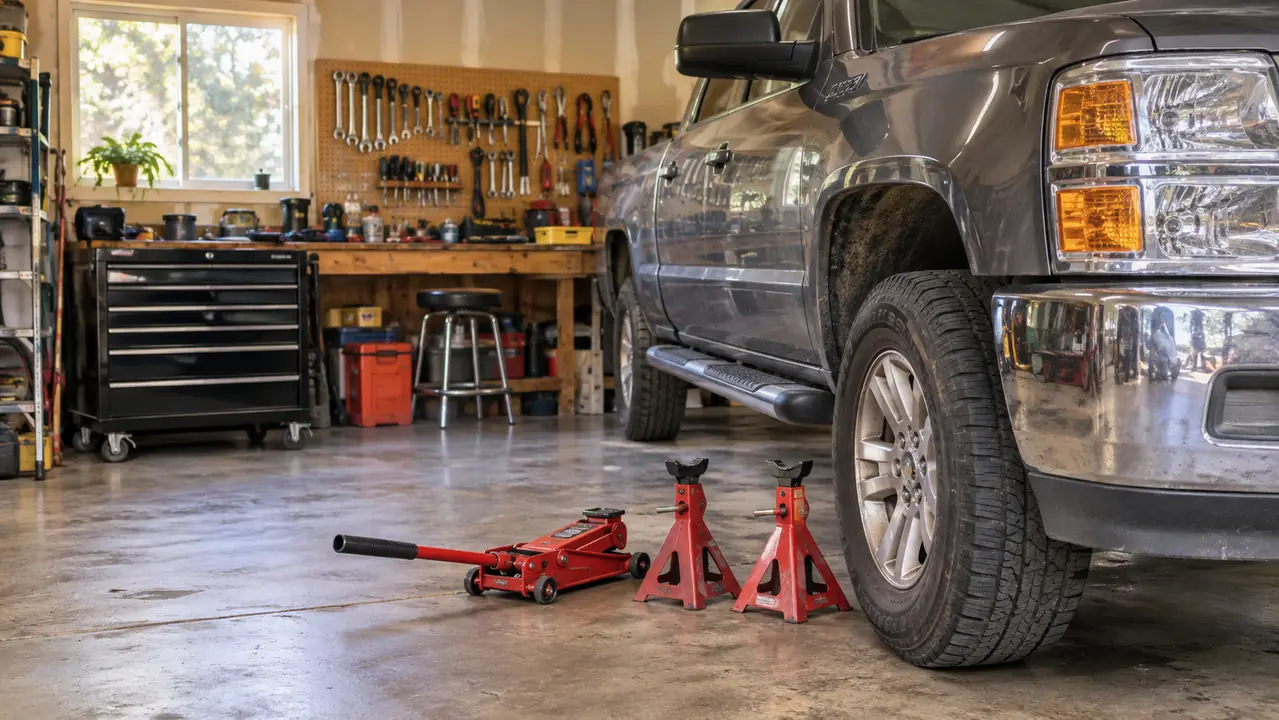
The first time I slid a jack under a car I was seventeen, in my dad's driveway, and I put the saddle right on a brake line. He caught it before I got two pumps in. I did not understand what he was actually looking at for another ten years. That is the thing about lifting a vehicle. The hard part is not the pumping. The hard part is knowing where the jack goes, where it absolutely cannot go, and what has to be under the car before any part of your body follows it. I am 52 now, I do this in a one-and-a-half-car garage in Sacramento, mostly on a 2012 Toyota Tacoma with about 168,000 miles on it and a 1991 Miata that spends half its life in the air, and everything below is the sequence I actually run. The jack I reach for is the ARCAN 3-Ton Aluminum Low Profile Floor Jack, model A20019. It is a good example of the hardware. The sequence is the part that keeps you out of trouble.
Most people start with the scissor jack that came in the trunk. That jack has exactly one job: changing a tire on the shoulder, once, slowly. It was never meant to have you crawling underneath. Ramps are better for an oil change, but they do nothing for brakes or suspension, and they make me more nervous than a jack does because there is no controlled way back down. What you actually want is a floor jack, a pair of stands rated for your vehicle, and a flat slab of concrete. The ARCAN handles the jack part of that: 6,000 pounds of capacity, a saddle that starts at 3.75 inches, and a ceiling of 18 inches.
A Jack Low Enough for a Lowered Car and Strong Enough for a Truck
The ARCAN A20019 slips under a 3.75-inch entry height, lifts to 18 inches, and carries 3 tons while it does it. The handle comes with it.
Amazon Check Today's Price on Amazon →What You Need Before You Start
Four things, and only one of them is the jack. A floor jack. Two jack stands rated at or above the weight of the vehicle. Two wheel chocks. A light you can aim at the underside. If you are missing the stands, stop here and go get them. I am serious about that in a way I am not serious about most things in a garage.
Give yourself an hour for the first job, even if it is a twenty-minute brake job. Half of that hour is looking at things. That is not wasted time. It is the time that stops you from putting a lift point through a fuel line because you were in a hurry to get to the part you actually wanted to do.
Step 1: Stage the Car on Ground That Cannot Move
The car goes on flat, solid, sealed concrete. My garage floor is sealed concrete and that is not a coincidence. Asphalt in July gets soft enough for a jack stand to sink a quarter inch, and a quarter inch is the difference between a stand that holds and a stand that tips. Gravel and grass are out. So is a driveway with a crack running under the lift point.
Transmission in park, or first gear if it is a manual, parking brake set. Then chock the wheel diagonally opposite the corner you are lifting. Lifting the front left means chocking the rear right. I keep two rubber chocks on the workbench for this and I have never once regretted the ten seconds it costs.
Clear the space around the car. Hoses, extension cords, the creeper, whatever is rolling around on the floor. A jack has to roll a couple of inches as it comes up, and it will roll over anything in its path. A garden hose under a steel wheel is enough to shift the load sideways at exactly the wrong moment.
Step 2: Find the Real Lift Point, Not a Convenient One
Every car has factory lift points, and they are in the owner's manual, usually in the section about changing a tire. Open it. I know that sounds like the advice your dad gave you, but I have watched people put a saddle through a rocker panel because they assumed the whole underside was fair game.
On the Tacoma, the frame rail is the honest answer, and I use the section just behind the front wheel. On the Miata, there are four reinforced points inboard of the pinch weld, and the car sits low enough that you have to find them with a light rather than by feel.
Here is what never gets a jack under it: the floor pan, the rocker panel itself, brake lines, fuel lines, the fuel tank, the exhaust, the oil pan, or any plastic cladding. A pinch weld is a maybe, and only with a saddle that has a slot cut for it. Put a flat saddle on a pinch weld and you fold it over. That is a body shop bill for a mistake that takes two seconds to avoid.
Step 3: Roll It In and Lift in Stages
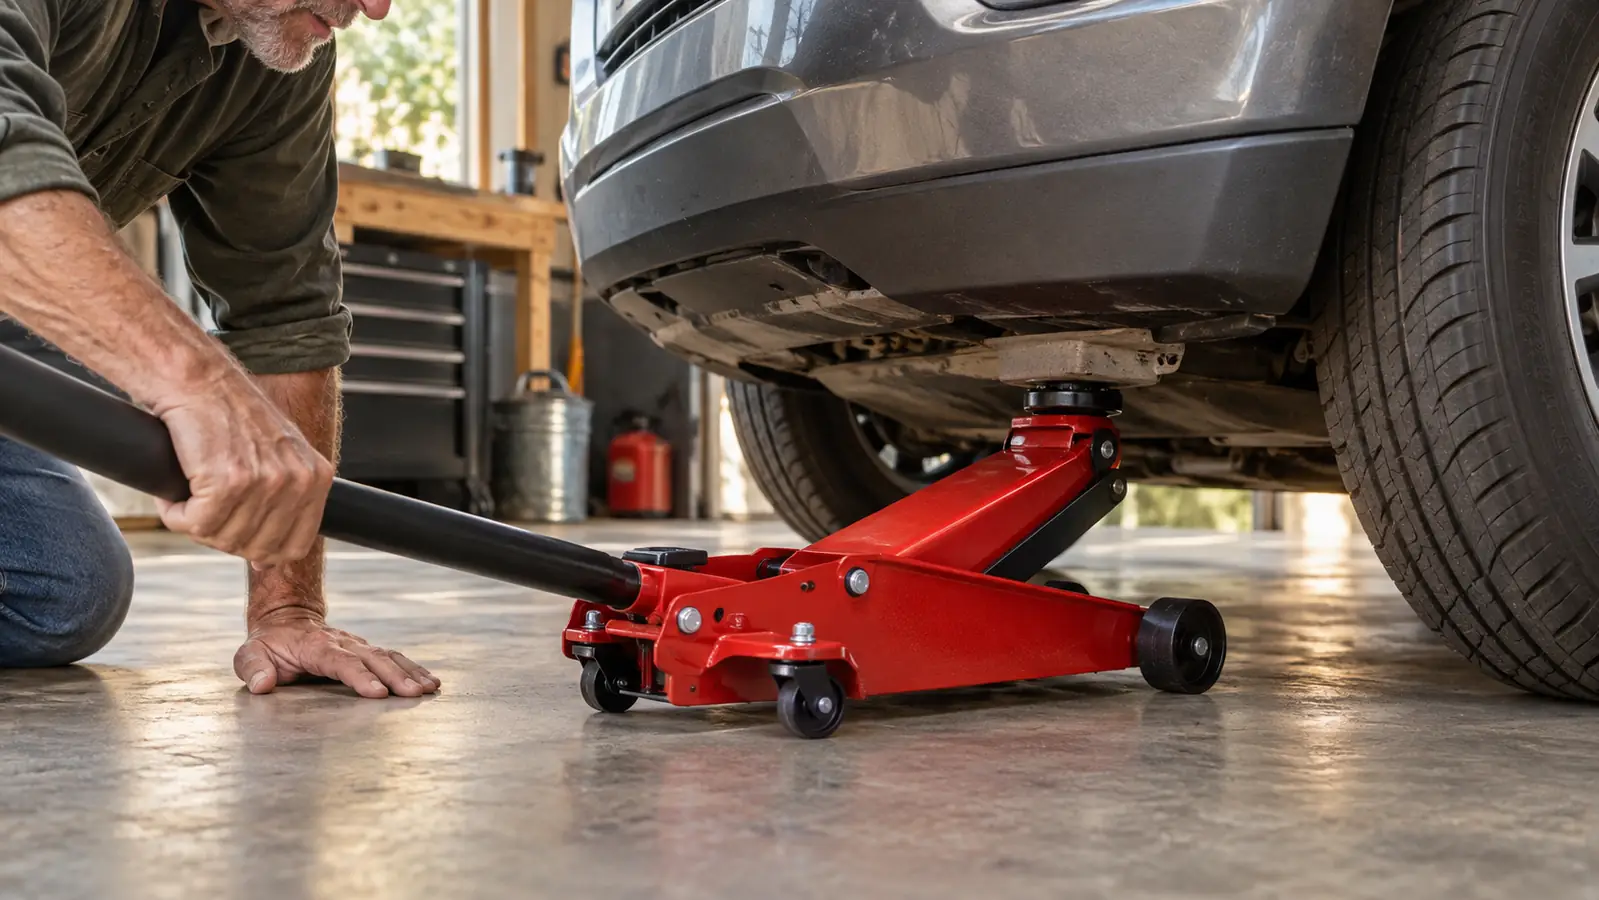
Roll the jack under the car and line the saddle up with the lift point. This is where the low profile earns its keep. With a 3.75-inch entry height, a Miata sitting an inch off the deck still clears it without me having to drive the car up onto blocks first.
Pump until the saddle just makes contact. Then stop. Get down on the floor and look at it again with the light. Is it centered on the point? Is it sitting on the seam of a pinch weld instead of behind it? Is a brake line running across the top of the saddle? Almost every jack failure I have seen with my own eyes was a positioning problem that was visible before the car moved an inch.
Then lift in stages. Two or three pumps, then a look. You are watching for the car coming up level and the jack staying planted on the floor. The bypass and overload valves in this jack are there to keep you from over-extending it, and the top of its travel is 18 inches. Do not go looking for that ceiling. You need enough height to slide a stand under a lift point and no more, and on both of my vehicles that is well short of the top.
Step 4: Set the Stands and Let the Weight Down Onto Them
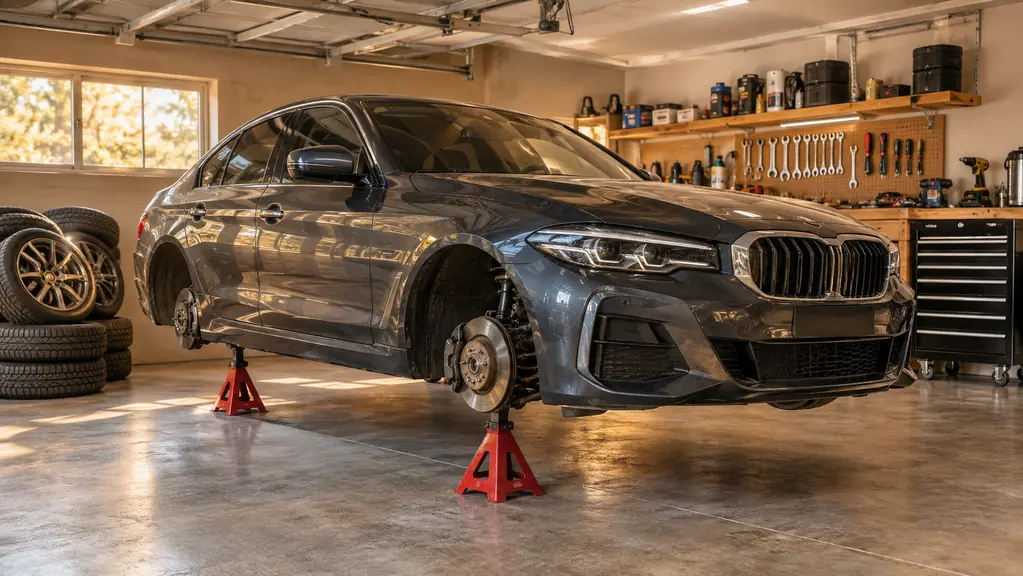
Nothing goes under the car until it is on stands. Not your hand, not your shoulder, not the wrench you just dropped. A hydraulic jack holds by fluid pressure, and fluid pressure can let go. It is a lifting tool, not a supporting tool, no matter how well it is built.
Set the stands under the same factory points, or under the frame if the manual calls for it. Pin them at heights that leave the car level, not nose-high or tail-high. If you need one stand taller than the other to make it work, the car is not on flat ground and you should start over.
Lower the jack until the weight transfers onto the stands. Then shove the car. Both hands, upper corner, real weight behind it. It should not move more than the suspension settling. If it rocks or slides, lower it, reposition, and try again. I leave the jack up under the car afterward as a backup, touching but carrying nothing.
Step 5: Reverse the Whole Sequence to Come Down
Coming down is the same sequence backward, and it is the part people rush because the interesting work is finished. Raise the car off the stands, pull the stands clear, check that nothing and nobody is underneath, then lower it slowly.
The handle controls the descent, and the temptation is to turn it too fast. Do not. A car that drops the last few inches onto its suspension is hard on bushings and hard on your nerves, and there is no reason for it. Ease it down until the tires take the weight.
Then finish properly. Torque the lug nuts if the wheels came off. Pump the brake pedal before you drive if you were into the brakes. Put the jack and the stands back where they live. Five minutes of putting tools away is the reason the next job starts easy instead of starting with a search.
Three Mistakes I Made So You Do Not Have To
I have cracked a driveway with a jack stand, folded a pinch weld on an old Civic, and once crawled under a car held up by nothing but a jack because I was only going to take a quick look. Nothing happened that day. That is the problem with near misses. They teach you nothing unless you decide to be a little bit scared by them.
The habits that came out of those three mistakes are boring. I look at the lift point twice before the car moves at all. I chock a wheel every single time, even for a two-minute job. And I own more jack stands than I strictly need so there is never an excuse to skip one. That is the whole safety program. It is not complicated, it just has to be automatic.
Almost every jack failure I have seen with my own eyes was a positioning problem that was visible before the car moved an inch.
What Else Helps
A light you can aim at the underside is worth more than most of the tools in my chest. I use a rechargeable one that sits on the floor and points up. Holding a flashlight in your teeth while you line up a saddle is how you end up with a sore neck and a bad position, and a bad position is what turns a two-minute job into a dented panel.
If you work on a unibody car, get a slotted saddle pad or a hockey puck to spread the load on a pinch weld. On the truck I do not bother. On the Miata I always do. It is the cheapest insurance in the garage.
The last thing that helps is knowing how tall you actually need the car. Brakes and oil changes want the car high enough to slide a stand under it and put your shoulders on a creeper. More height than that just means a longer reach with the jack and a bigger drop when you lower it. The ARCAN tops out at 18 inches, and I have never needed every inch of that on either vehicle.
The Jack That Does the Lifting So Your Stands Can Do the Holding
3 tons of capacity, a 3.75-inch entry height, 18 inches of lift, and a reinforced lift arm. Model A20019 ships with its handle.
Amazon Check Today's Price on Amazon →