
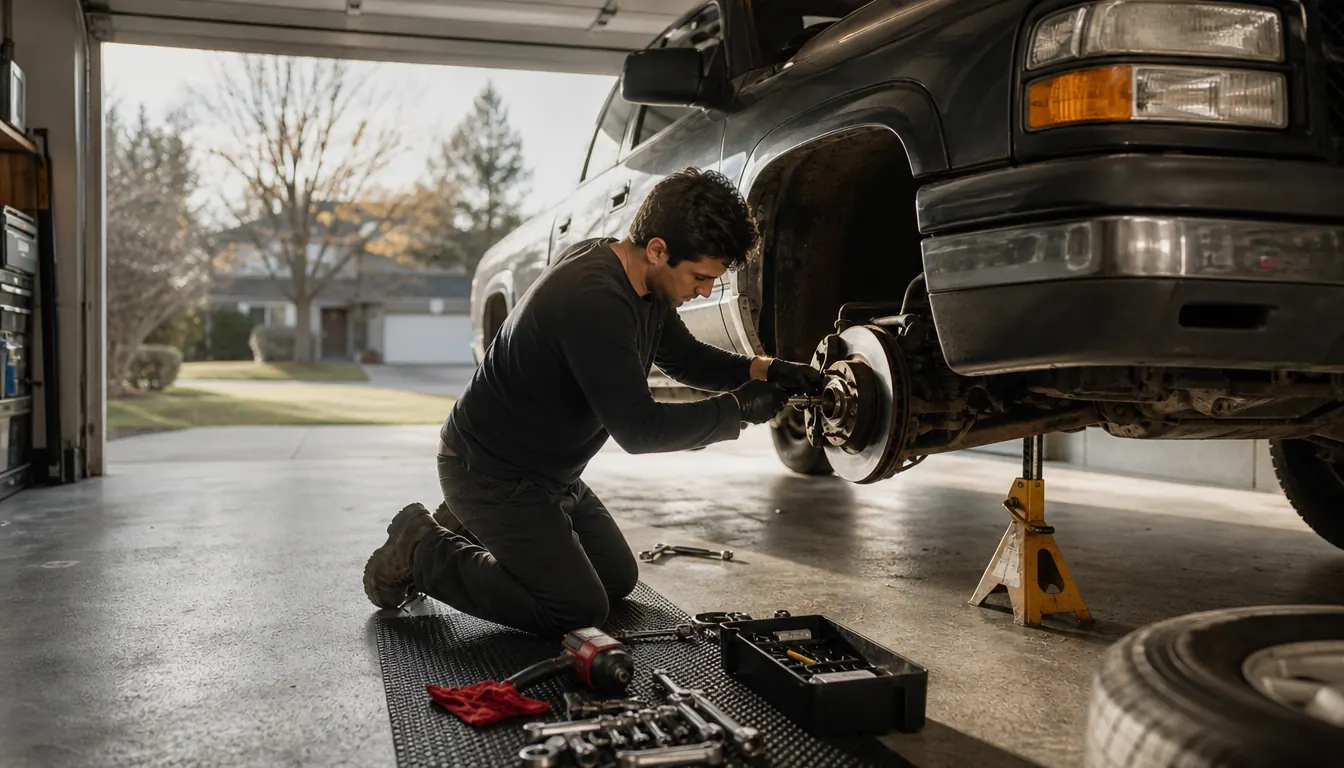
A wheel that comes loose at highway speed does not announce itself. It shows up first as a shimmy you feel through the seat, then as a clunk when you change lanes, and then as a phone call you would rather not make. I got lucky the first time it happened to me. Three miles from my house, coming home from a brake job on the Tacoma that I had rushed, the front end started to shake and I pulled over to find two lug nuts on the driver side that had backed off almost a full turn.
Here is what I did wrong, and it is what nearly everyone does wrong the first time. I ran the nuts on with a four-way and leaned on it until they felt tight. Tight is not a number. Too loose and the wheel walks off the hub. Too tight and you stretch the studs, warp the rotor and teach yourself a whole new vocabulary the next time a tire shop has to take them off. What I needed was a way to stop guessing. That is the entire job of the EPAuto 1/2-inch drive click torque wrench. It is pre-calibrated to plus or minus 4 percent, it covers 10 to 150 ft/lb and 13.6 to 203.5 N/m, and it clicks when the preset value is reached, so the nut ends up exactly as tight as the manual says and not a pound tighter. The 4.6 average across more than twenty-three thousand ratings tells me I am not the only one who needed that.
Stop guessing at tight. Click at the number instead.
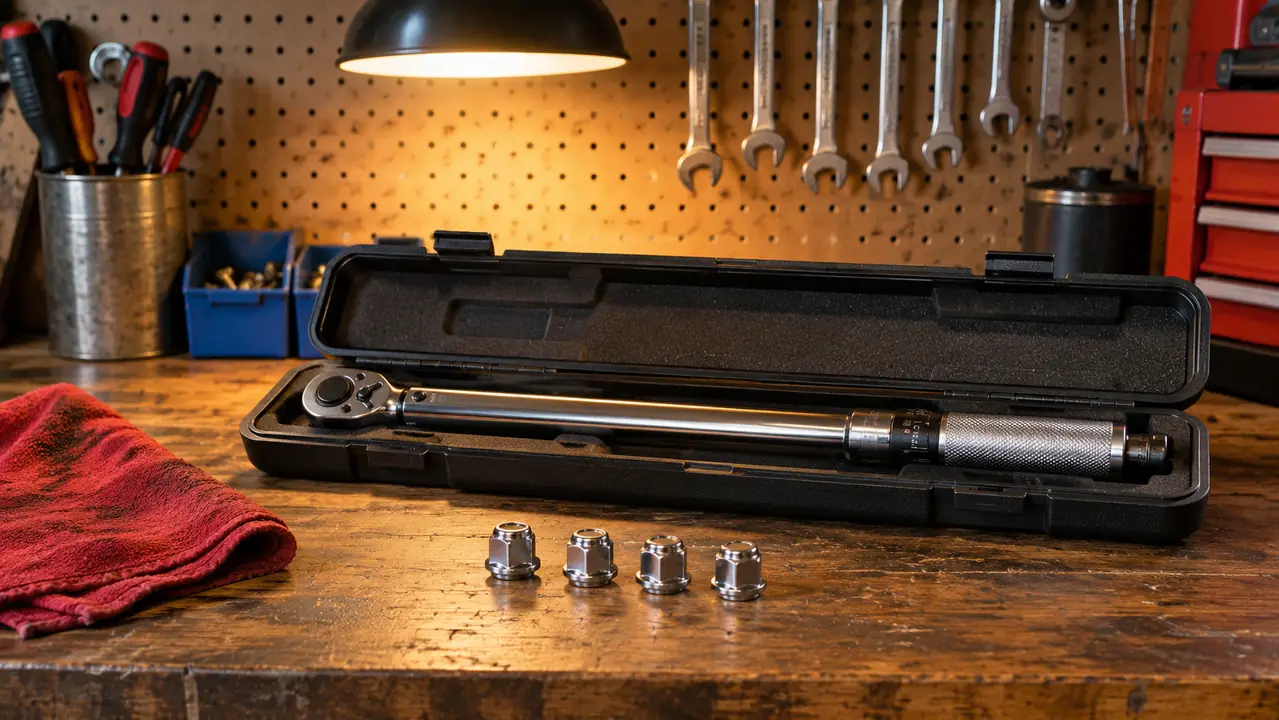
The EPAuto 1/2-inch click wrench covers 10 to 150 ft/lb, arrives pre-calibrated to plus or minus 4 percent, and ships in a hard case with a 5 inch extension bar. If your lug nuts have only ever met a four-way and a boot full of bodyweight, this is the upgrade.
Amazon Check Today's Price on Amazon →Five Steps, In Order
The order matters, and skipping ahead is how people round a nut or crack a rotor. Here is the sequence I use now, every time, whether it is a wheel on the truck before a long drive or the Miata coming out of winter storage.
Step 1: Find the real number before you touch the wrench
Do not start with the wrench. Start with the owner's manual. Every manual lists a wheel nut torque, and the two vehicles in my garage do not share one. The Tacoma wants a figure in the low triple digits of ft/lb. The Miata, being a much smaller car with smaller studs, wants something noticeably lower. Look up the number for your own vehicle and write it on a piece of tape stuck inside the lid of the tool chest. You will use it more often than you expect.
Watch the units. A manual may give you ft/lb, or it may give you N/m, and mixing them up is how a nut ends up at nearly one and a half times its spec with nobody noticing. The EPAuto carries both scales, 10 to 150 ft/lb and 13.6 to 203.5 N/m, so you can set it in whichever unit your book uses and skip the arithmetic. If your book uses a third unit, convert once, write the number down, and stop converting.
One more check that is easy to skip. If the car is wearing aftermarket wheels, the wheel maker may publish its own torque spec that differs from the car maker's. When the two disagree, the wheel manufacturer usually wins, because the wheel is the part that is different. Call the place that sold you the wheels and get it in writing before you guess.
Step 2: Set the preset value and learn what the click feels like
Set the preset value to your target and read it twice against the scale. Turn toward the number rather than sailing past it and walking back down, because a wrench set by creeping up on the value repeats more faithfully than one that was overshot. If you set it in ft/lb, glance at the N/m scale once as a sanity check. The two scales should agree with each other, and if they do not, something is wrong.
Before you put it on a wheel, do a dry run. Clamp a spare nut and bolt in the bench vise, set the wrench low, and pull until it clicks. You are not testing the tool. You are training your hands and ears. The click is quiet, and on a clean fastener it arrives as a small give in the handle rather than a loud snap. Mechanics who have used one for years feel it before they hear it. Ten seconds at the vise saves you from the classic beginner mistake of pulling straight through the click because you were not sure it happened.
The wrench is pre-calibrated to plus or minus 4 percent. That is the factory claim and it is plenty good for wheel nuts, but it assumes the tool has not been dropped on concrete, used as a breaker bar, or stored wound up to the top of its range for two years. Treat it like the measuring instrument it is and it stays close. Treat it like a hammer and it drifts, and you will never know by feel.
Step 3: Snug by hand, then torque in a star pattern in two passes
Get the wheel onto the hub, start the nuts by hand, and snug them with a four-way while the tire is still on the ground. Snug means seated, not tight. Once the car is up and the wheel is off the ground, do not reach for the torque wrench yet. Half the overtorque in the world happens in those first thirty seconds.
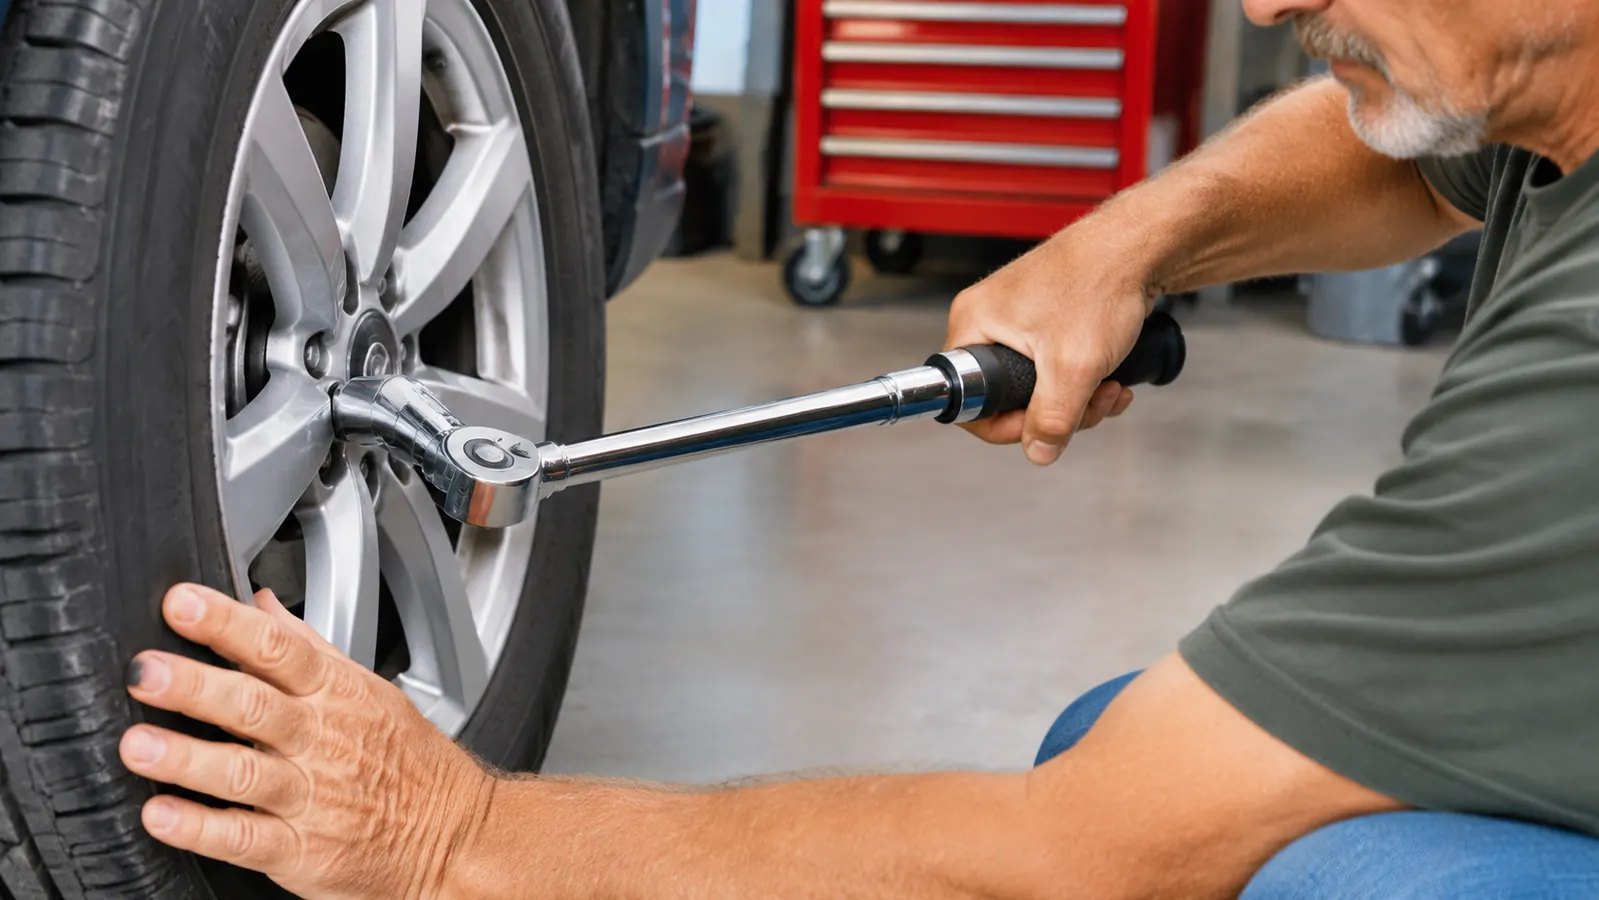
Torque in a star pattern, and do it in two passes. First pass at roughly half your final value, second pass at the full number. On a five nut wheel you are going around the circle like a pentagon, never around the rim in order. The reason is simple. Hitting one nut to full spec while its neighbors are loose pulls the wheel cocked against the hub, and then the last nuts fight the first ones. Two passes let the wheel settle square before anything reaches its final setting. It costs about a minute and it is the difference between a wheel that sits flat and one that does not.
Keep the socket square on the nut and support the head of the wrench with your free hand so it does not cock off to one side. A socket riding at an angle is how you round a nut on a Sunday afternoon. Clean threads matter too. A wire brush and a rag on the studs takes a minute and keeps grit out of the torque reading. Ask the manual whether the threads should be dry or lightly oiled, because a lubricated thread reaches a higher preload at the same reading and the spec assumes one or the other.
The wrench is pre-calibrated to plus or minus 4 percent and clicks when the preset value is reached. My forearm has never been calibrated to anything.
Step 4: Pull smooth, listen for the click, and stop when you hear it
Pull steadily and let the wrench do the talking. A slow, even pull gives you a clean click. A jerk gives you a click somewhere past the number, or no click at all because you bounced through it. Stand square to the wheel, pull with your shoulder rather than snapping your wrist, and keep the handle in line with the stud so the effort goes into turning the nut and not into bending the tool.
When it clicks, stop. Not one more nudge to be sure. Not a second click to confirm. The whole design of the tool is that the click is the end of the job. Every extra pull after it is exactly the overtorque you bought the wrench to avoid, and you will never feel the difference in your hands, which is the point.
The included 5 inch extension bar earns its keep here. On the rear wheels of a truck, the studs sit deep enough that a bare socket puts the wrench head up against the fender lip, and the extension moves the head out where you can pull straight and see the scale. Keep the extension in line with the stud. An extension hanging at an angle adds a side load and gives you a reading that is close but not quite what the scale says, and close is what we are trying to get away from.
Step 5: Unload it, wipe it down, and put it back in its case
When you are finished, wind the preset value back down toward the bottom of the range before the wrench goes away. A click wrench stores whatever pressure you leave in it, and parking it at the top of its range for months is the quickest way to make it read wrong. This is the most common way people quietly ruin a perfectly good wrench, and it costs nothing to avoid.
Wipe the body down with a rag, put a thin film of oil on it if your garage runs damp like mine, and lay it in the plastic storage case it came with. The case is not decoration. A torque wrench that lives loose in a drawer with sockets and hammers gets knocked around, and knocked around is how calibration quietly goes.
Then check the nuts again after the first fifty miles, and again any time a shop has had the wheels off. Alloy wheels in particular can settle slightly after a heat cycle. Same star pattern, same click, no drama. Five minutes at the curb in front of the house.
The Mistakes I Made, So You Do Not Have To
I leaned on a four-way for years and told myself I could feel when a nut was right. The two loose nuts on the Tacoma ended that argument. Feel is a guess with confidence attached, and the guess gets worse every year your shoulders get older.
I also used the torque wrench to break a seized nut loose exactly one time. It worked, and then the wrench never felt quite the same on the low end. A click wrench has delicate internals that are built to measure a pull, not to survive a shock load. Break the nut free with a breaker bar while the car is still on the ground, then lift it. That order never changes.
The last one is the boring one. I used to torque on dirty studs because cleaning them seemed like extra work. Grit between the threads changes the friction, friction changes the preload, and the wrench happily clicks at the number while the actual clamp load is somewhere else. Brush the studs. Wipe them. It takes a minute.
What Else Helps
A breaker bar does the loosening. A torque wrench does the tightening. That is the split, and it should stay that way. Crack the lug nuts free while the tire is still on the ground, then raise the car. Using the click wrench to break a stubborn nut free is how the internals get hurt, and it is a warranty conversation you will not win.
The rest is safety, and none of it is optional. Chock the wheels you are not lifting, use stands rated for the load, and never put any part of yourself under a car held up by a jack alone. I repeat that in every conversation I have about this because I have met people who learned it the hard way, and because the ten minutes it takes to set stands properly is the whole difference between a good Saturday and a bad one.
Two more small habits. Keep a note taped inside the tool chest lid with the torque spec for each vehicle and the date you last checked, because memory gets unreliable somewhere past 168,000 miles. And if you ever drop the wrench on concrete, treat the next reading with suspicion until you have done a dry run on the vise. It probably survived. Probably is a word I try not to attach to a wheel.
The click you can hear beats the tight you can feel.
16.25 inches of chrome vanadium steel, a range from 10 to 150 ft/lb that covers every fastener in my garage, and a case that keeps it honest between jobs. It is the best insurance I have found for a wheel, and it lives in the top drawer where I cannot forget it.
Amazon Check Today's Price on Amazon →